



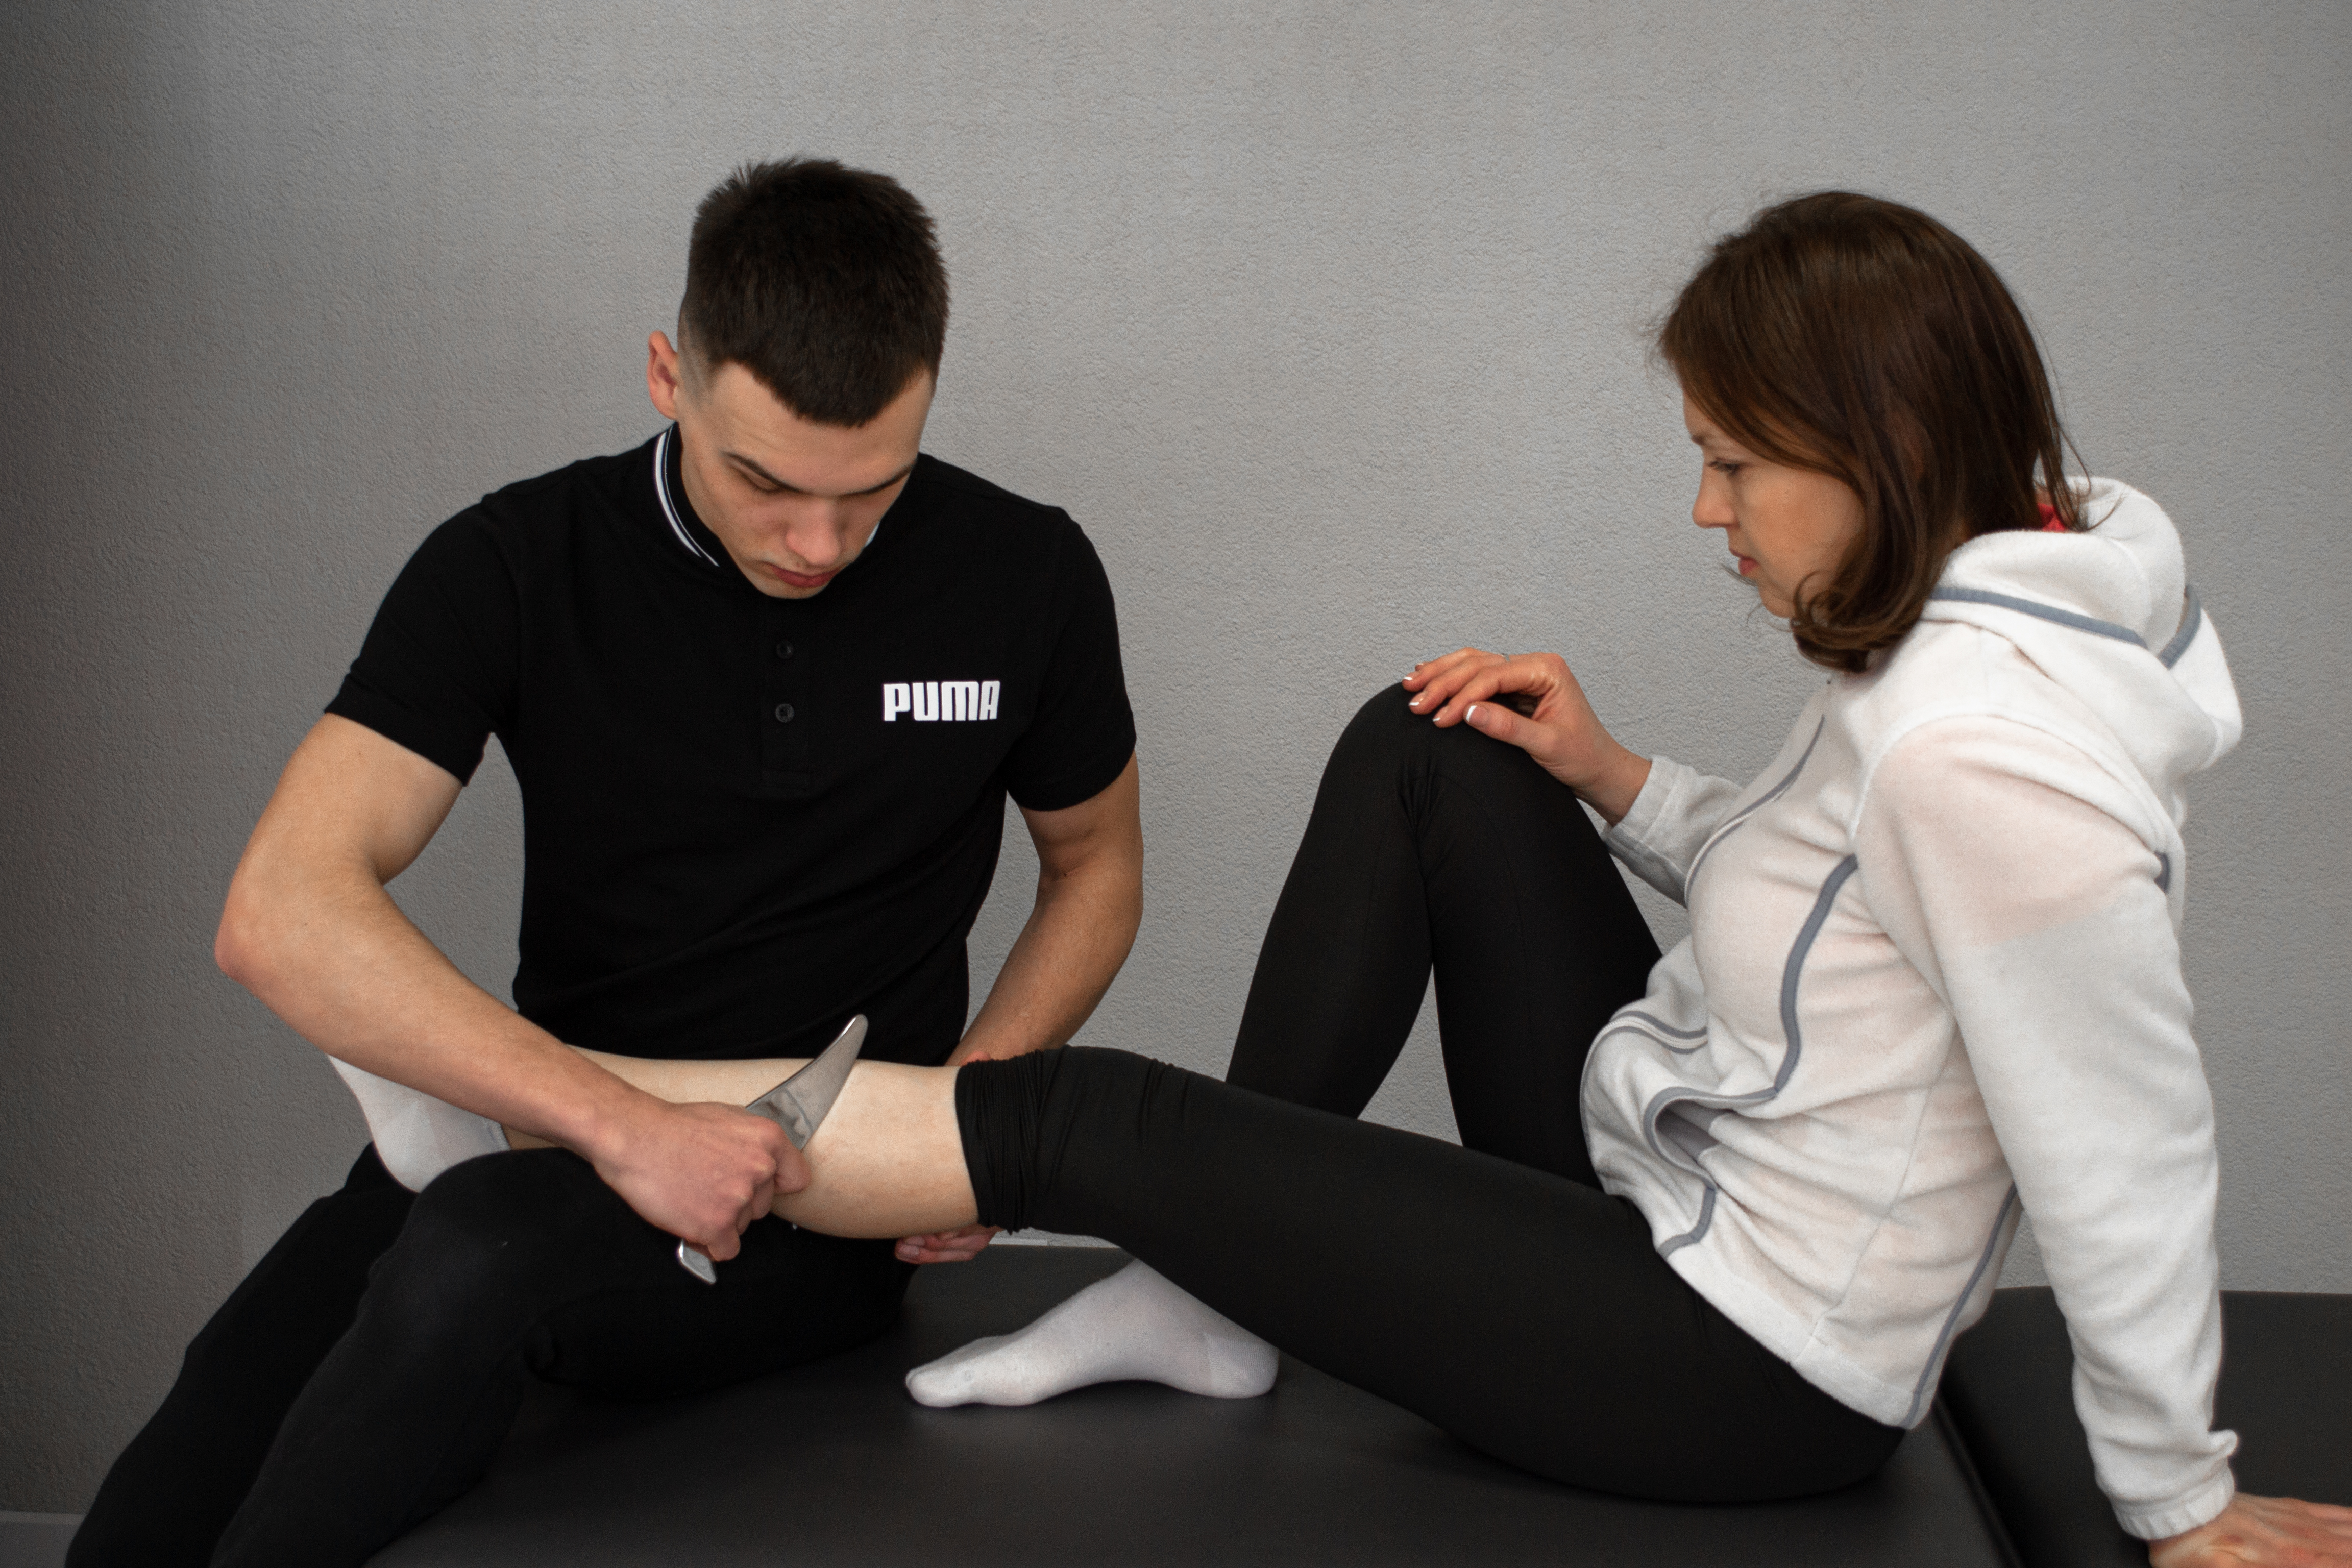
The pain is gone, the swelling has subsided, and you are ready to put your running shoes back on immediately? Rushing through rehabilitation is one of the fastest ways to experience another injury. A premature return to running after an injury often leads to recurrence because the joints and tendons are not yet prepared to tolerate high-impact loads.
The main goal for a runner is not simply to restore the ability to move, but to adapt the tissues to withstand high peak forces. When can you run after an injury without putting your health at risk, and how should this process be structured? Let’s explore a clear step-by-step approach.
Why Being Pain-Free Does Not Mean You Are Ready to Run
Pain is only a signal of acute inflammation or tissue damage. Even after pain disappears, the healing process of tissues (tendons, ligaments, and muscles) is still ongoing.
What Happens to Tissues After an Injury?
During healing, scar tissue forms. This tissue is typically less elastic and less capable of handling load compared to healthy tissue. To tolerate the repetitive impact forces created during running, it must be gradually and appropriately conditioned.
The Risk of Compensatory Movement Patterns
Even when pain is absent, the body may unconsciously protect the injured limb. You may begin to subtly limp or shift your weight onto the opposite leg. This creates excessive stress on the healthy side and can quickly contribute to new injuries.
Checklist and Functional Tests: How to Know You Are Ready
Before taking your first running steps, make sure you meet the basic requirements:
- No swelling or signs of inflammation around the injured area for at least 7 consecutive days.
- You can walk at a fast pace comfortably and without pain for at least 30 minutes.
- Range of motion in the injured joint is fully restored and symmetrical compared with the uninjured side.
Important: Do not begin running if a controlled functional test produces localized pain or a sudden feeling of instability.
Single-Leg Balance Test
Stand on the injured leg, close your eyes, and attempt to maintain balance for 30 seconds. The absence of excessive movement and pain indicates improved proprioception (the body’s ability to sense joint position and movement).
Load Tolerance Test
Perform 10 consecutive single-leg jumps in place. If you experience no pain or stiffness during the exercise or the following day, this is a positive sign that you can begin running intervals. The running readiness test can be considered successfully completed.
Rehabilitation Stages and Recommended Loading
During rehabilitation after a leg injury, loading should increase gradually. The table below presents approximate recovery phases:
| Phase | Main Goals | Recommended Exercises | Progression Criteria |
| 1. Acute Phase | Reduce pain and swelling | Isometric exercises, gentle mobility and stretching | No pain at rest |
| 2. Functional Phase | Restore strength and range of motion | Bodyweight strength exercises, stationary cycling | 30 minutes of pain-free walking |
| 3. Plyometric Phase | Prepare for impact loading | Double-leg and single-leg jumps, balance exercises | Successful completion of hop tests |
| 4. Running Phase | Adaptation to repetitive running loads | Interval running | No adverse tissue response within 24 hours |
How to Start Running
Returning directly to a full running workout is a common mistake. The safest approach is to begin with alternating periods of walking and running.
Why an Interval Approach Is Important
Bones and tendons adapt to increased load more slowly than muscles. Interval training allows tissues to receive controlled amounts of stress with sufficient recovery periods between efforts.
Example of the first running session:
5 minutes warm-up (walking) → [1 minute of easy running + 2 minutes of walking] × 5 rounds → 5 minutes cool-down. Total running time: only 5 minutes.
The 10% Rule for Safe Progression
Increase your total running time or weekly mileage by no more than 10% per week. This widely used guideline helps minimize the risk of tissue overload and re-injury.
How to Prevent Re-Injury: 4 Key Prevention Rules
Recovery after injury and returning to running should always include additional preventive strategies:
- Do not stop strength training. Include two strength sessions per week (squats, lunges, calf raises) to maintain tissue capacity and movement control.
- Monitor your cadence. Increasing step frequency (approximately 165–175 steps per minute) may help reduce impact forces on the knees and hips.
- Choose softer surfaces. During the early stages of return to running, consider grass, trails, or a treadmill while limiting exposure to hard surfaces such as concrete and asphalt.
- Monitor the 24-hour response. Pain during or after training should remain below 2–3 points on a 0–10 scale and should completely resolve by the following morning.
A balanced injury recurrence prevention strategy is the foundation for long-term performance and staying active in sport.
FAQ
Can I Run With Mild Pain (2–3 Out of 10)?
Yes, mild discomfort may be acceptable if it does not alter your running technique (for example, causing a limp) and completely disappears within 24 hours after training.
What Should I Do If Discomfort Appears After My First Run?
Take a break for 2–3 days. Once symptoms resolve, return one step back in your progression plan by reducing the duration of running intervals or increasing walking time.